I wanted to keep my existing lights but add the ability to control them in a smart way (internet/automations etc). To accomplish this my existing switches/dimmers needed to be exchanged for smarter versions. After some reading/investigation I came to the conclusion that the solution must also support Home Assistant, the leading (open source) software to connect everything together.
There are a few different wireless techniques that are interesting: 433 MHz (Nexa), Z-Wave (Fibaro, Qubino), ZigBee (IKEA, Xiaomi), Bluetooth, BLE – Bluetooth Low Energy (Plejd) and WiFi. There are so many different brands that all use different techniques.
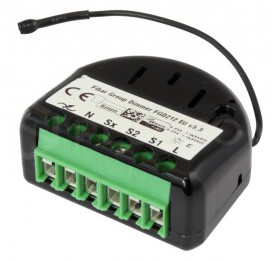
Switch/dimmer
The two brands that stood out were Fibaro and Plejd (as I live in Sweden and it is a Swedish company). Plejd uses a newer technique BLE that consumes less power (0.3w) but unfortunately doesn’t have many supported devices compared to Fibaro Z-wave (0.6w). At the time (last year 2018), Plejd had no integration with Home Assistant so that made my choice easier. Fibaro was the clear winner!
(Plejd now has a working integration with Home Assistant so Plejd might be a better choice today if you want less power consumption and don’t mind experimenting a bit more)
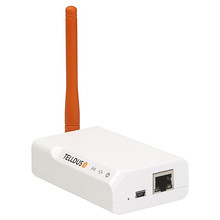
Hub/Controller
To be able to control your z-wave devices through the internet a hub/controller is needed. As Z-Wave is used by multiple brands there are many to choose from like: Samsung SmartThings, Telldus Tellstick Znet Lite, Fibaro Home Center 2, Homey etc. I already owned an older TellStick ZNet Lite V1 controller that Home assistant can do a local API integration with.
Problems I encountered with my Fibaro installation:
- There is no electric “zero” blue wire behind some wall switches. Solution was to use a Fibaro Dimmer 2 as it doesn’t need a zero even though I won’t use the dim functionality.
- When using “Association” between Fibaro devices sometimes first button press didn’t work (it was like it needed to wake up from sleep first). The problem was that I had forgot to create a two-way Association so the devices states didn’t get synchronised. Works great now!
Home Assistant
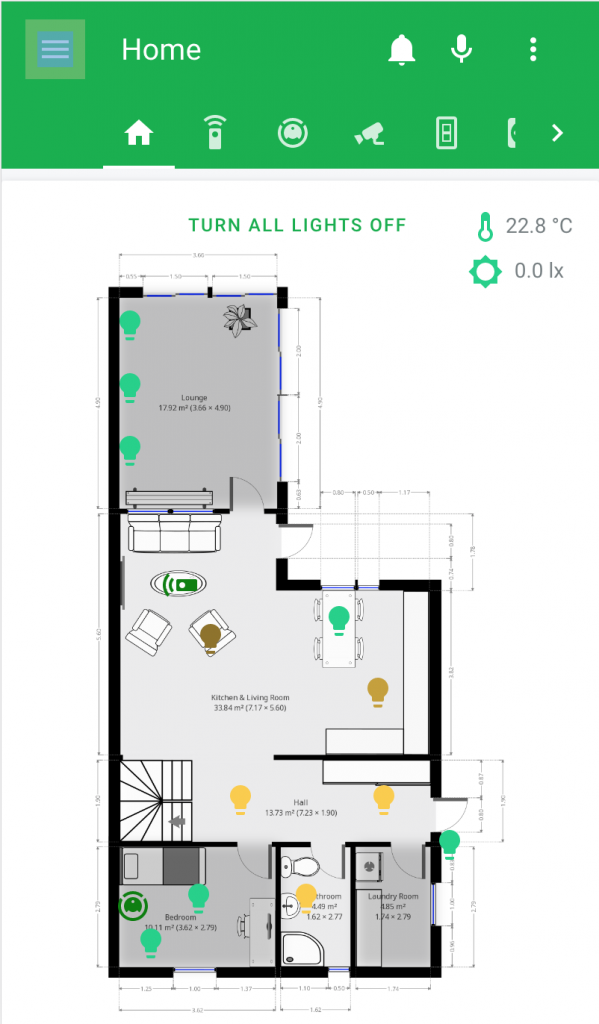
The reason you want Home Assistant is the possibility to bind everything else (not only lights) together with one software (instead of being stuck with the Z-wave controller software). I have integrated Google Assistant for voice activation, Xiaomi Roborock vacuum cleaner, Logitech Harmony remote, chrome-cast, wifi network (Ubiquity Unify), security camera etc. Everything can be controlled through Home Assistant!
Here is picture on my Home Assistant first page mobile view (1st floor with clickable light icons etc):
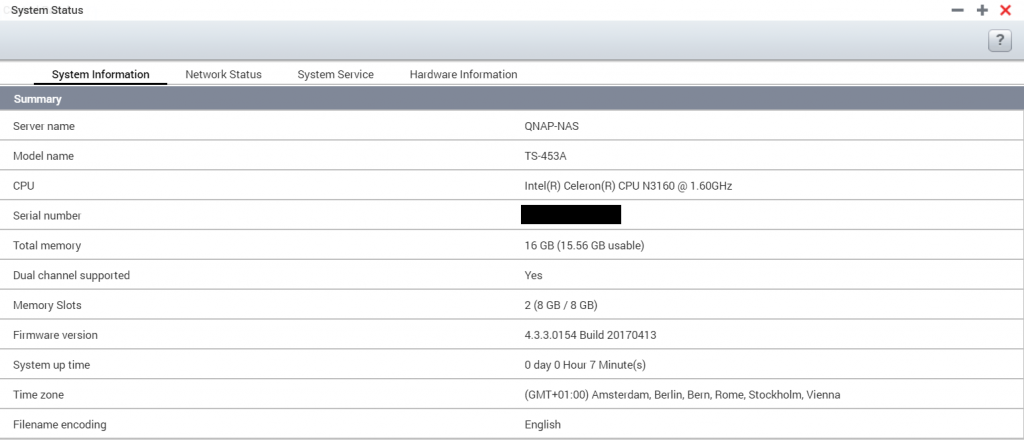
My Home Assistant instance currently runs through docker located on my NAS. I might experiment with a Hass.io installation on my Raspberry Pi later on.